Hardware
The LED Strips
There are 96 strips of ws2812b RGB addressable LEDs – 46 strips on each side of the tunnel, meeting in the middle at the top. Each strip is 2m long and has 60 LEDs, making a total of 5760 lights.
The strips came in reels of 5m, so I cut them up and soldered the 1m bits together.
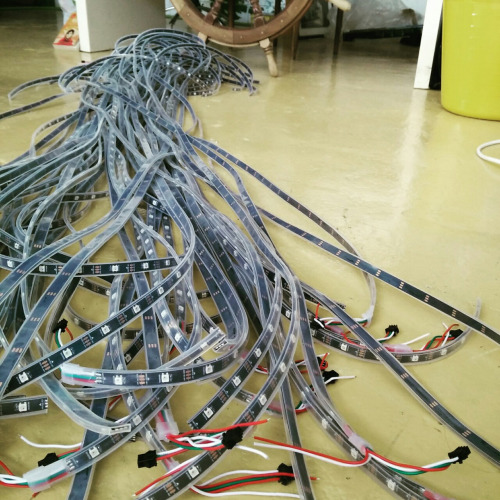
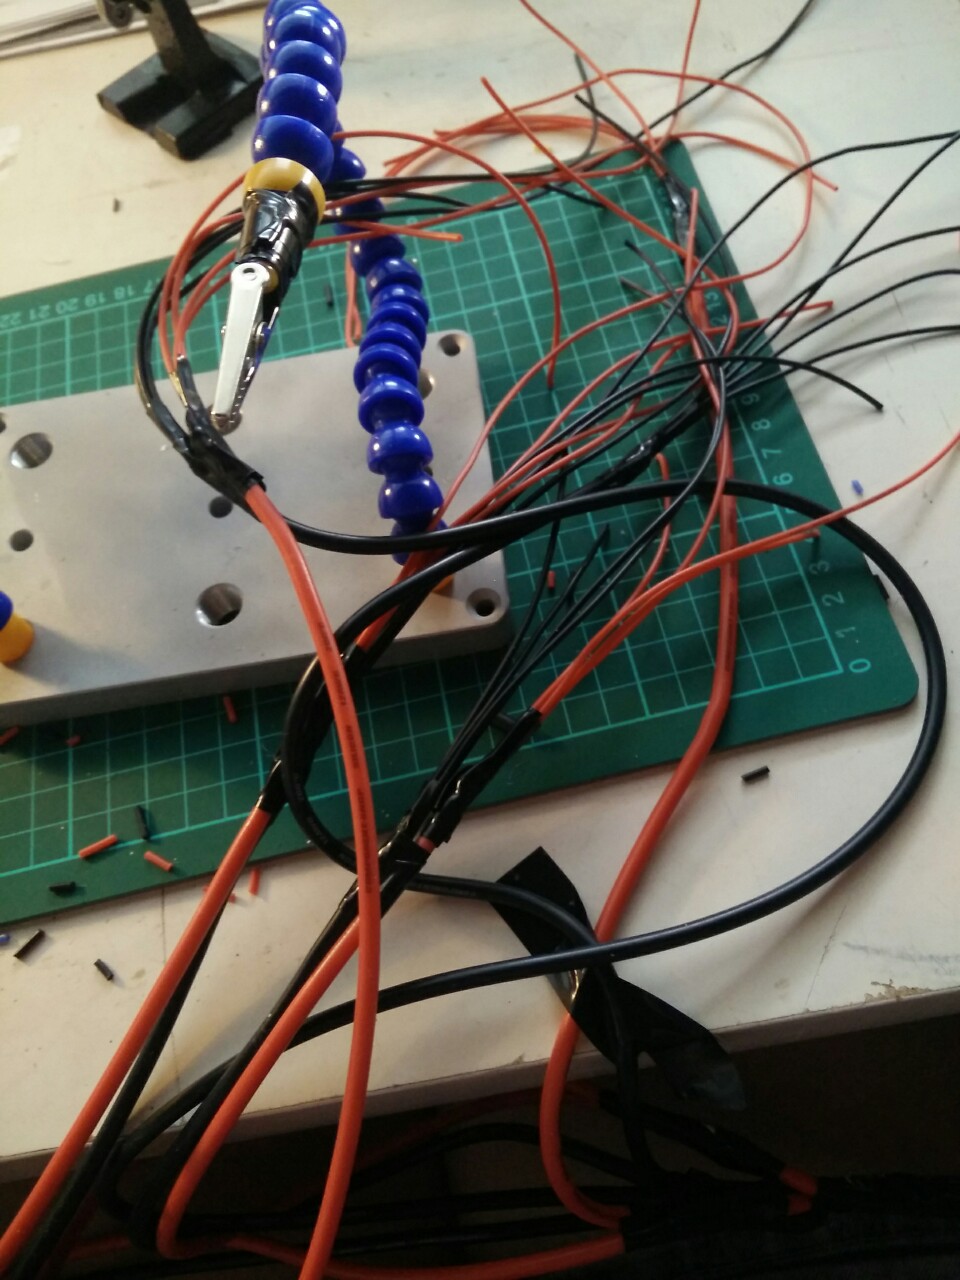
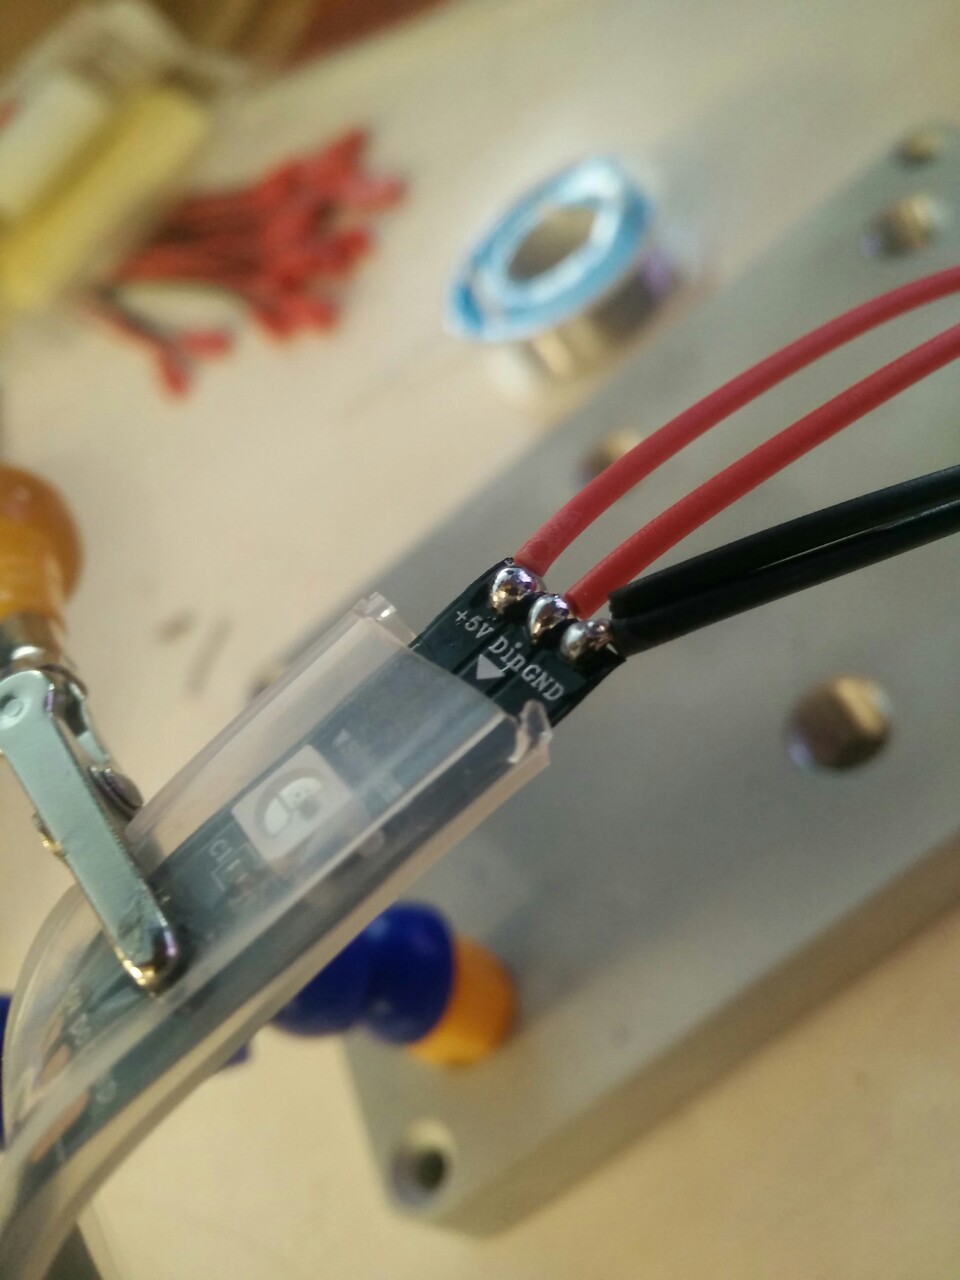
Each strip needs power and data. The 5m reels come with connectors but, because I’d cut the strips to length, I needed to solder new connectors to a lot of the strips. The three connections you see in the following picture are 5V power, data and ground. There are two wires attached to the ground (one for data, one for power).
The Fadecandys
To control the lights in the tunnel I used Fadecandy, a neopixel driver created by Adafruit and Scanlime. Each Fadecandy can control up to 8 strips of 64 LEDs. My strips have 60 LEDs because (at 30LED/m) this fitted tidily into 2m and made better use of my 5m reels.
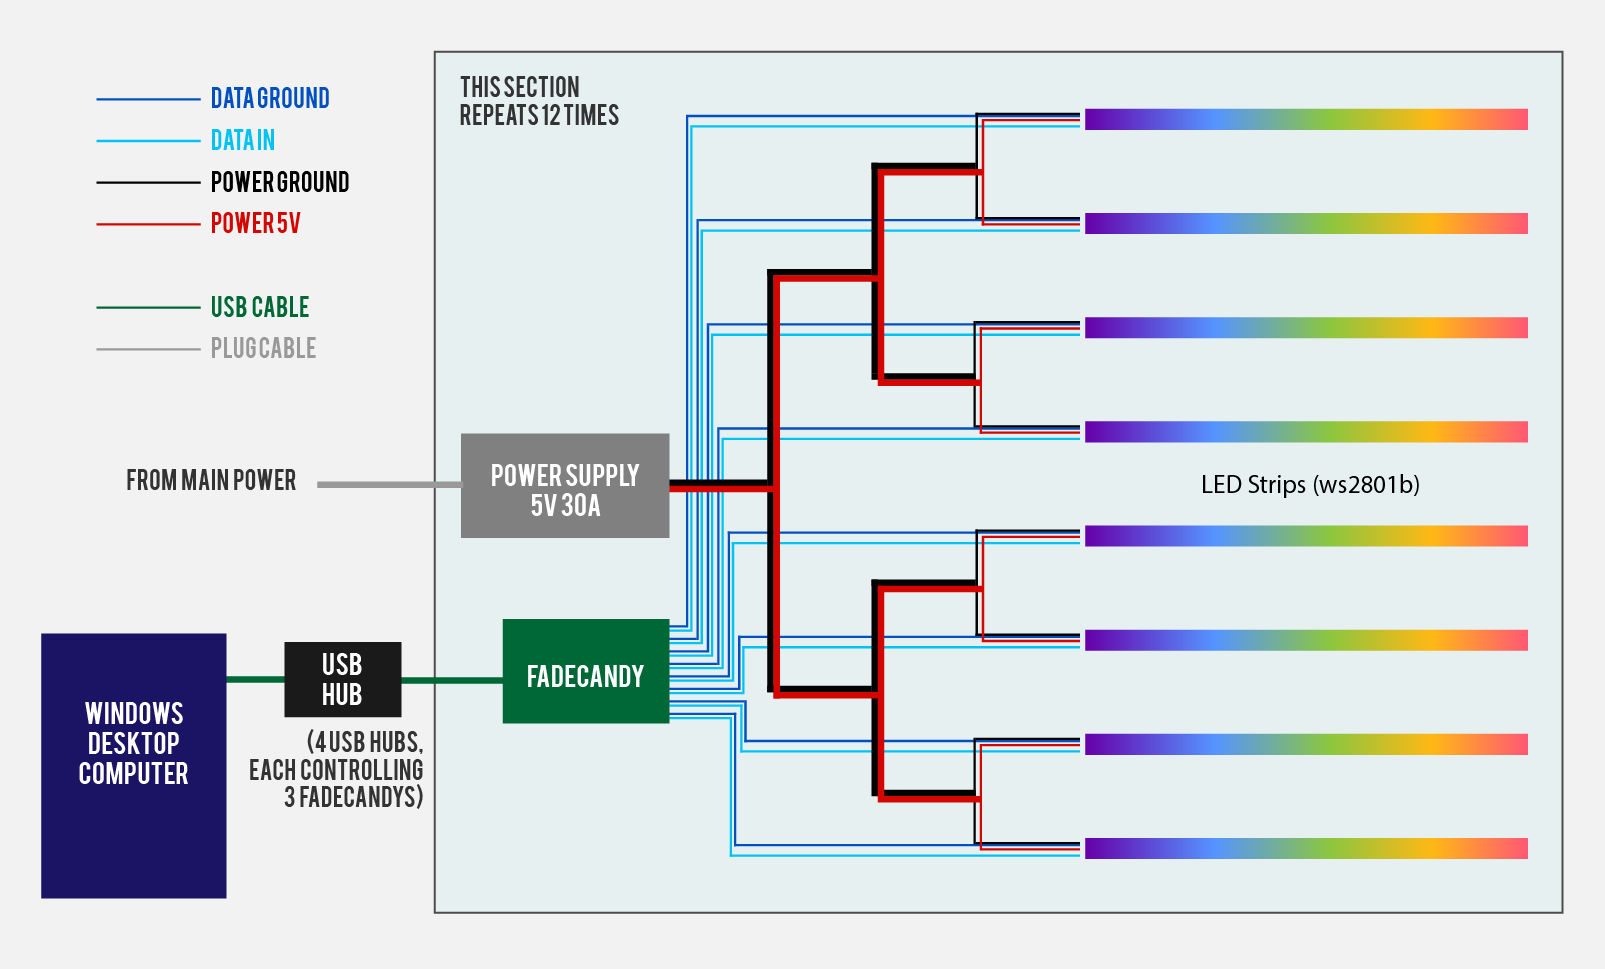
Each Fadecandy board has to be connected to a computer to work (it cannot operate independently like an arduino). It is compatible with Raspberry Pi but I used a Windows desktop machine and 4 USB hubs.
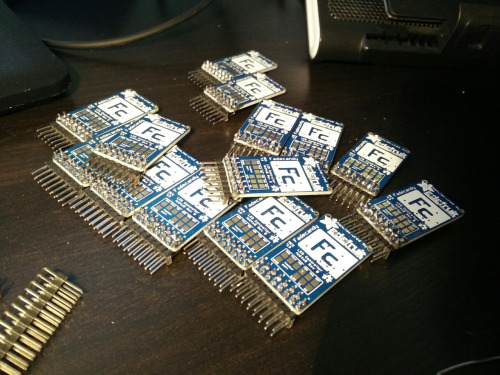
The Fadecandy board has 16 pins (1 for data and 1 for ground, for each of the 8 strips) so I soldered double header pins to each board. To control 96 LED strips, the Space Tunnel needs 12 Fadecandy boards. Here are 14 (2 spare!) ready to use.
Have a look at the Software section for more of an understanding of how Fadecandy boards control the LED strips.
Power
Each LED can draw a maximum of 0.06A at 5V, which doesn’t sound like a lot but once you consider there are 5760 LEDs, this number increases sharply. Figuring out how to power the Space Tunnel was easily the most complicated part of the project.
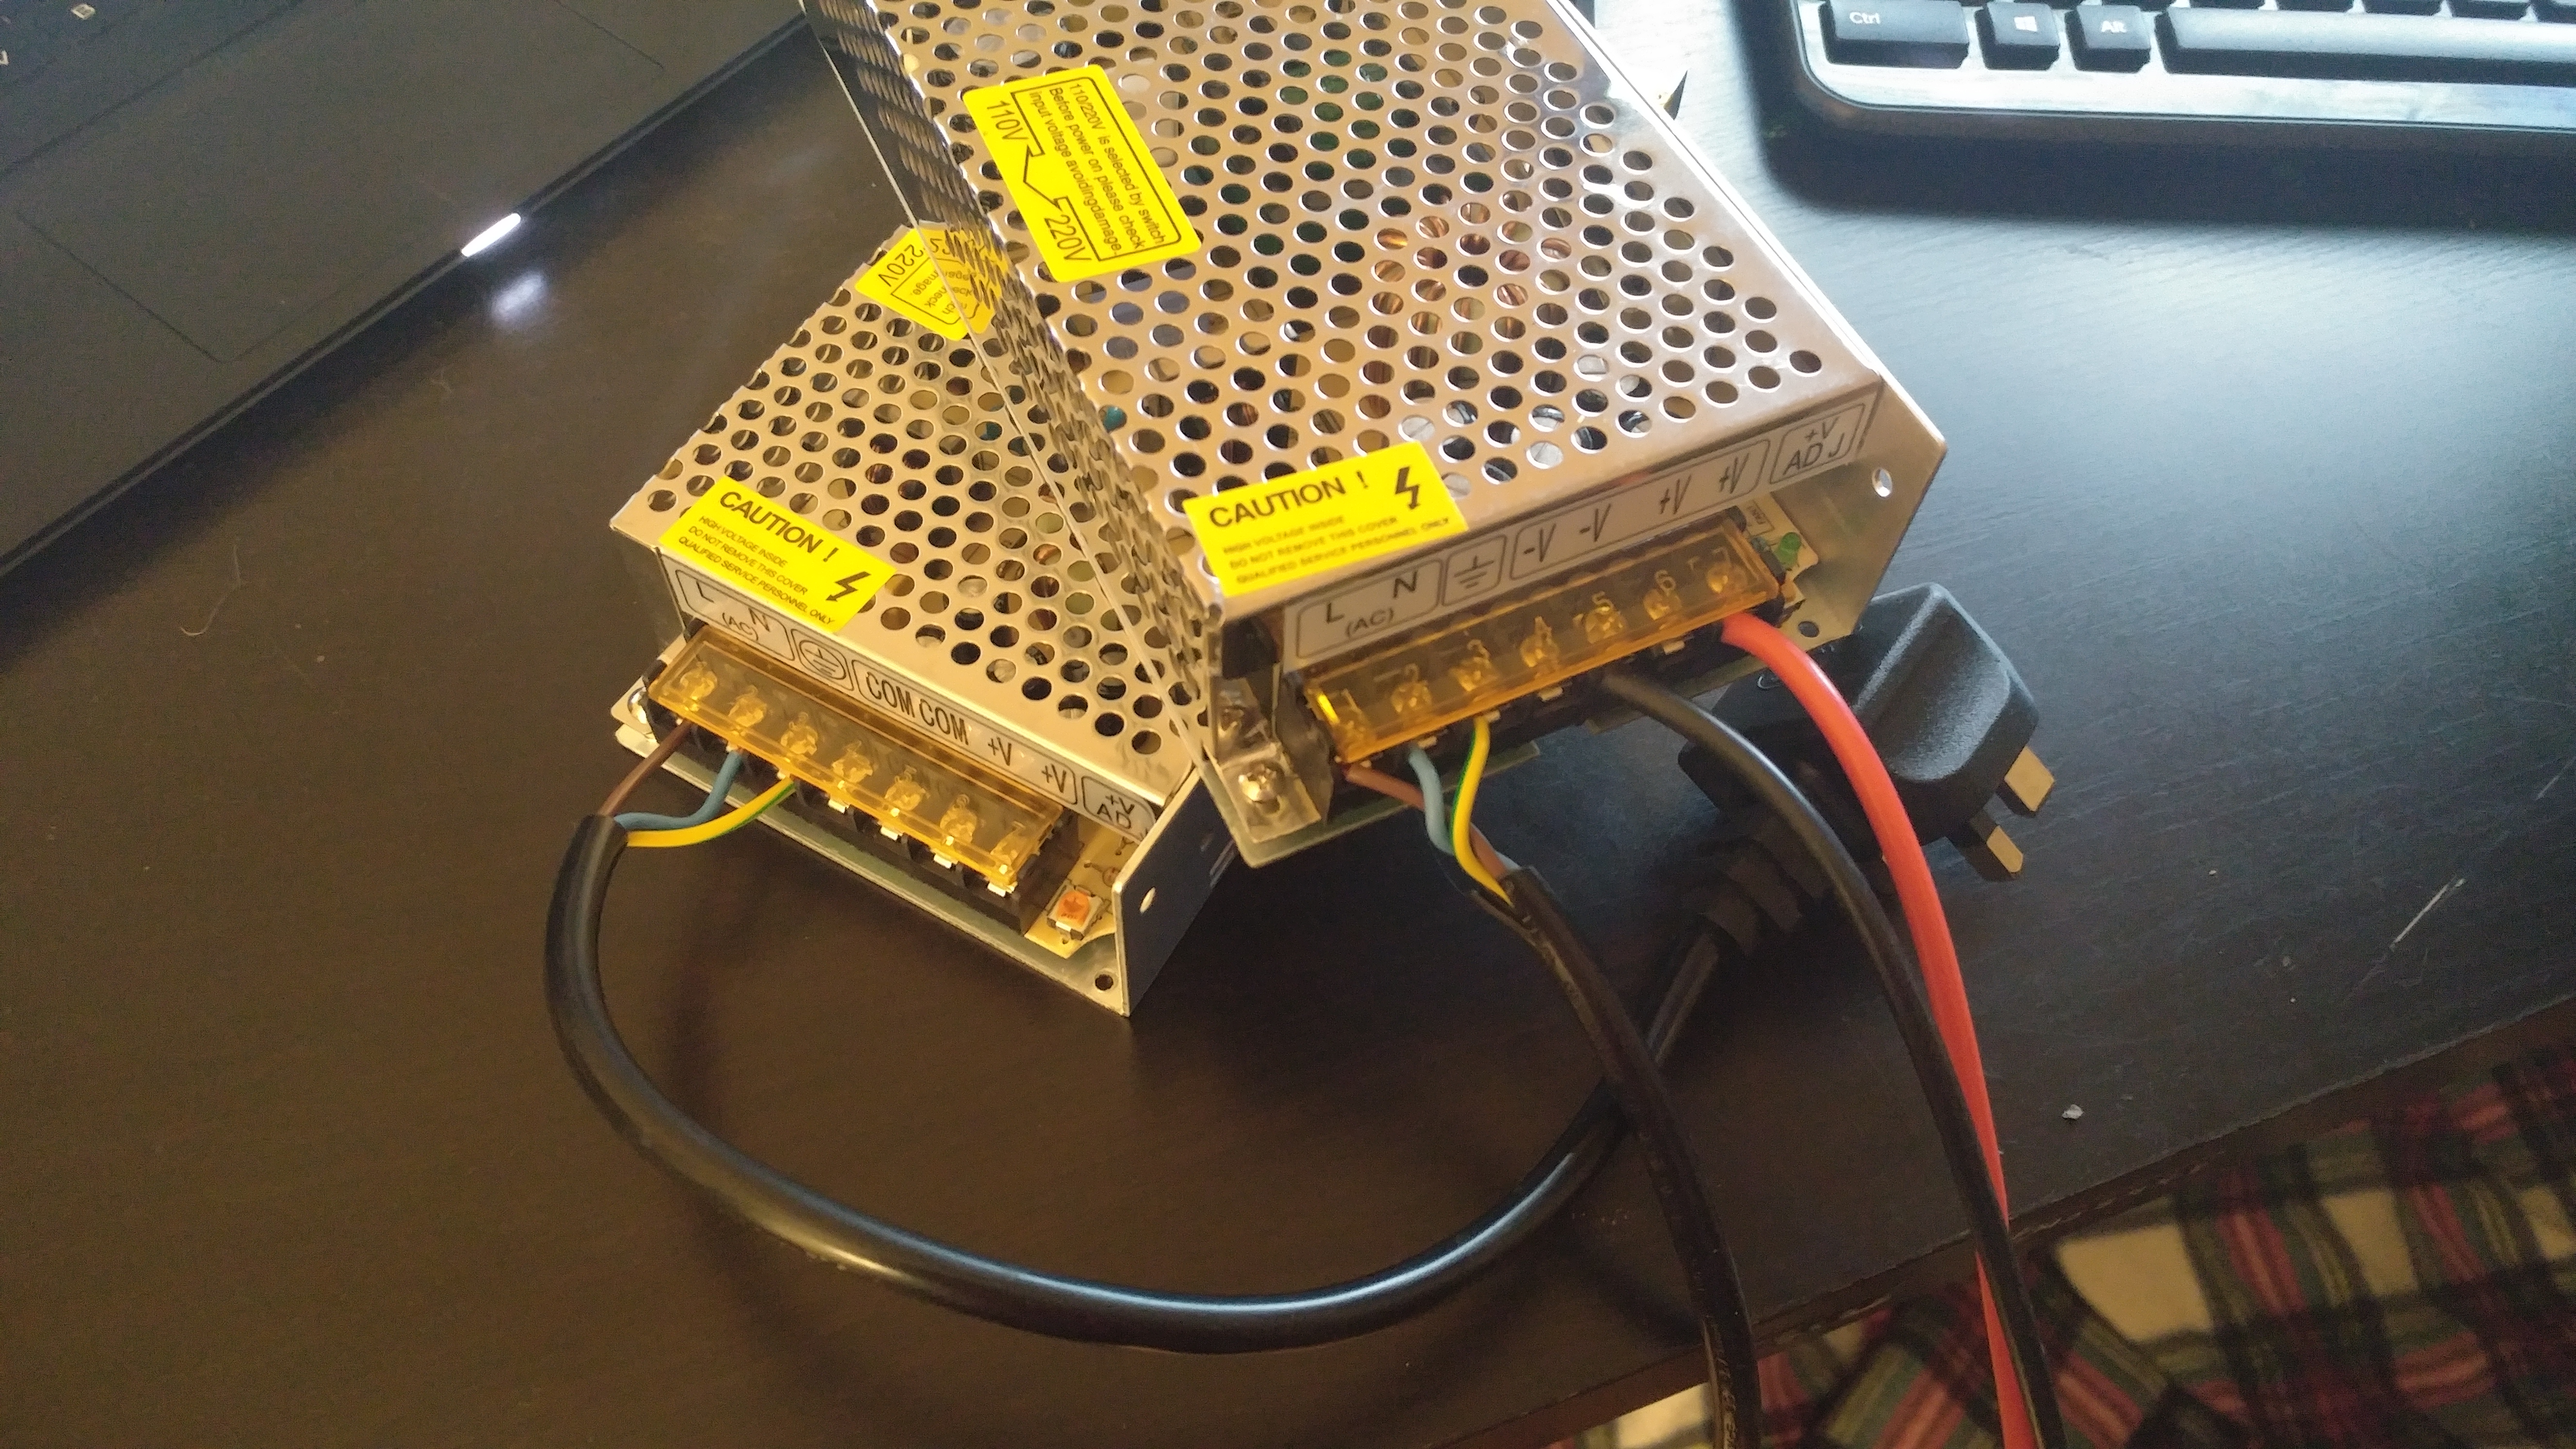
For the Space Tunnel’s first outing, I used 6 PSU’s meant for desktop computers (2 recycled and 4 purchased new) and this worked well as long as the brightness of the LEDs was limited to 70%. In future builds, I used 12 power supplies designed for use with LEDs (or similar).
Every section of 8 strips of LEDs has it’s own power supply, each giving 30A at 5V, which is just over the max draw, so the LEDs can now be at full white, 100% brightness with no problems.
To distribute power from the power supplies to the LED strips I used fairly heavy gauge wires, splitting the power first into half (2 wires), then splitting each of those 2 wires into into half again (4 wires), and then using finer gauge wires to split each of those 4 wires into half again, giving 8 wires, one each for the 8 strips.
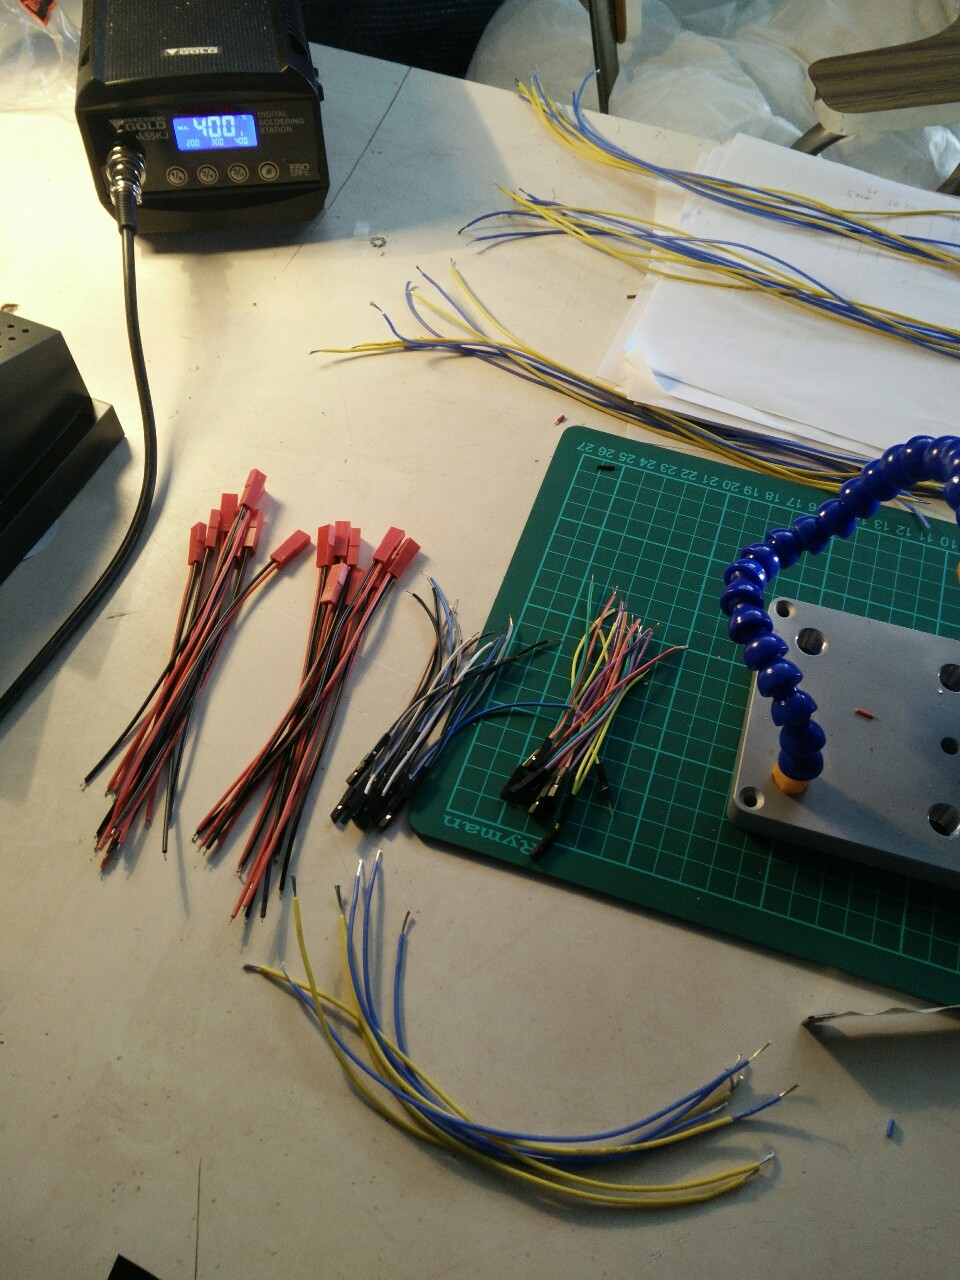
This has to be done for power and ground for each power supply, and then I soldered the power and ground wires into a connector which links to the connector I soldered to the LED strip.